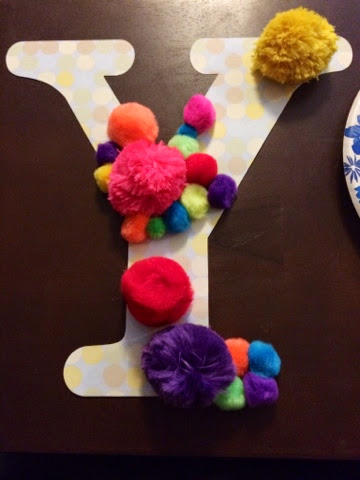
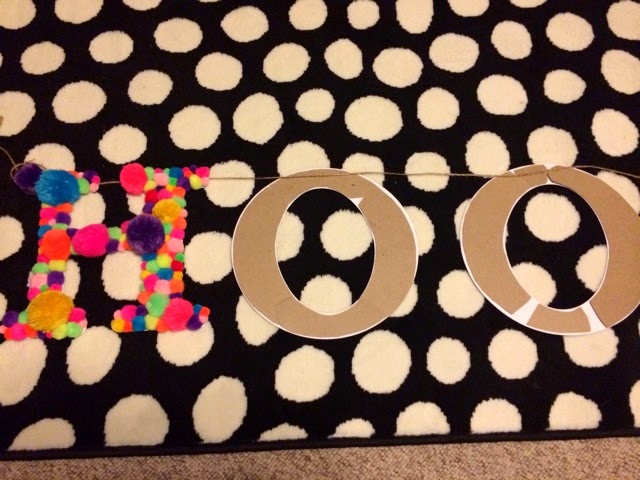
I decided on the phrase HOORAY because I want to be able to use this for any occasion, showers, birthdays, and of course graduations.
Supplies:
Poms
Hot glue gun
Heavy duty card stock or poster board
Twine
1.Make your letters
I'll use any excuse to get my cricut out, but you can definitely free hand this project.
I chose the "fit to page" option for all my letters. I didn't realize it, but it made my letters different sizes. You can see that the R is slightly bigger than other letters, and the A is slightly smaller. Oops!
I used just regular scrapbook paper and I wish I would have gone with a thicker paper. I ended up having to add support to my letters.
2. Pom it up!
My only cost in this project was the poms. I bought from Hobby Lobby and the Dollar Tree. Price wise, if you use your coupon (40% off) at HL for the 300 pack, they poms end up being a little less expensive than the Dollar Tree packs that were $1 for 80 poms.
Before I started glueing I counted how many big poms there were divided them up between each letter. I glued the big poms on and then filled in the spaces with smaller poms. Easy, no brainer crafts that you can do while catching up on the DVR....perfection!
3. String it up!
Lay out the letters to find your preferred placement of the letters and glue the twine to the back of the letters.
*If I were to do this again, I would punch holes in the letters and string them that way, just so I can control the distance between the letters for each time I use the banner.
Here are a few pics of the final product:
Hope you guys had a great weekend! I'll be sharing details of our Austin trip soon!
Mal


No comments:
Post a Comment