Showing posts with label Typography. Show all posts

Tuesday, June 30, 2015

Green Light: Skillshare!

So, some of you may have noticed that I am a huge fan of creative education. Seriously, it's one of my all time favorite things to do on my days off. It's what recharges my batteries. Whether it is just a tutorial on a blog, taking an online class or attending an amazingly crafted workshop on an afternoon in a local shop. I LOVE IT ALL!

A few classes I've blogged about are:
Calligraphy, Floral Arranging & Watercolors, and Illustrator.


Well, I've stumbled across a website that is just dreamy. Skillshare is a site that brings a whole bunch of teachers straight to you. You get one free month, then it's $8/month for a year. Even if you watched one video a month, it would be well worth your time and money. A few classes that are on my radar are: Chalkboard Lettering, Illustrating Flowers and Photography for Bloggers.

I also like that anyone can submit projects to teach. If you're pretty passionate about a skill, you can share it and make some extra cash. There are a lot more design classes offered than anything else, but hopefully there will be some more in the other genres soon, like sugar cookie decorating or screen printing t-shirts or letterpress.

If any of you are withholding some awesome sites similar to this, I'm not mad. BUT I will need you to tell me about them, STAT. STAT means now! (Gah, I miss Dwight!)

Wednesday, January 21, 2015

Pursue: A Holiday Workshop

Oh man oh man oh man. You guys know how much I enjoy workshops. Some (my husband) say that I'm obsessed, and some (my husband) say that I spend too much money on them. I can't help it!
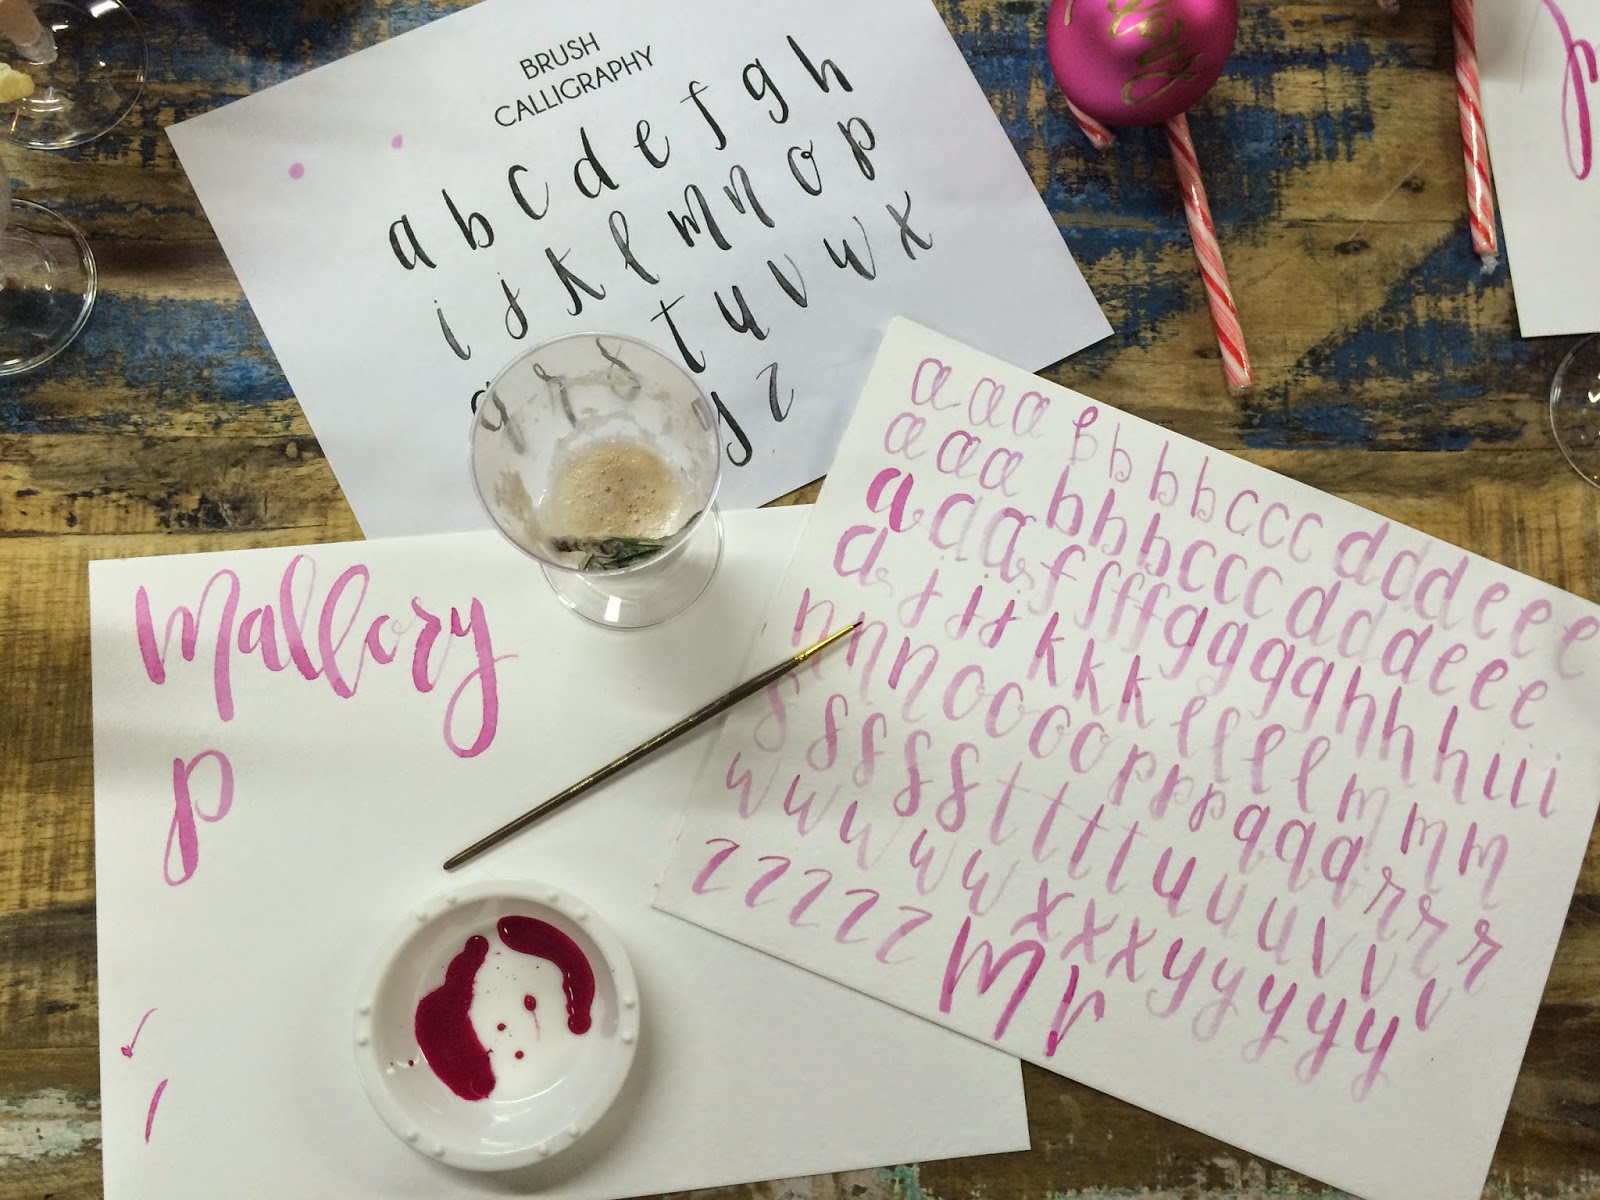
Back in December, my friend Brandi and I attended Pursue: A Holiday Workshop. We got to dabble in some brush lettering taught by our friend Molly and play florist with the oh so beautiful blooms Kelly of Poppy Lane Designs brought for us to play with! All the while Chris Castro was busy making us some hand crafted cocktails and homemade, dreamy focaccia bread. Plus it was at Plenty Mercantile in Midtown, which is a great local shop! Seriously, one of my faves!

Not only are these workshops just a creative blast, but you are surrounded by other creatives (both professional and hobbiest) people who are geeking out right beside you. No funny glances when you are standing on a chair trying to get the perfect shot. No judgment when you are arranging and rearranging your setting so that it is camera ready. You set at a table with a few strangers and you get to chatting, becoming friends with others who share your love of the perfect Instagram post.
Ya'll.... Its just so much fun! Here are a few pics from my camera, but let me forewarn you- THE Holli B was there taking some (too) legit (to quit) pictures of her own that I'll share with you guys later. 


 If you have ever taken a calligraphy class and have been wondering about switching lanes to brush calligraphy, I say DO IT! I love brush calligraphy just a teensy bit more than ink calligraphy. Forgiving would be the best way to describe the difference. I officially went for it and addressed my Christmas cards...Check 'em out!


Sunday, June 8, 2014

Calligraphy Class

Happy Rainy Sunday! 

So one of my latest obsessions has been calligraphy. My Instagram has been filled with any hand lettering accounts I can possibly find. (That, and about 12 English bulldog accounts...it's an issue, I know!)

My friend Taryn and I decided to take Lauren Essl's beginning calligraphy class at Chirps & Cheers in Edmond. It was a blast! I highly recommend taking one of her classes, and I will for sure be taking one of her advanced classes! Lauren was so nice and I had fun picking her brain for 3 hours while I learned my lower case abc's. 


I took her alphabet and made my own practice sheets. 


Here was my first writing project. Not the most sentimental birthday card, but it's the prettiest! 

Chirps and Cheers has a pretty dang cute mascot as well! 


Check out Lauren's online classes as well!

Friday, July 19, 2013

Addressing Envelopes

So my first big DIY wedding task was addressing my Save the Date envelopes.

I know what you're thinking....not exactly a "DIY". Well, for those of us who can't figure out the whole "mailings" part of Microsoft Word, tune on it!

First off, lets start with my inspiration. Hashtag shocker....it's from Pinterest. Typography is everywhere on there. From basic stationary to wedding signage to gift tags. I'm obsessed! Here are just some of my faves...


Whew! My heart swoons for this envelope! This is from Etsy. I SO wish it was in my budget to have this done. I wish even more that I could do this myself!!


{http://www.stylemepretty.com/2012/12/04/tulsa-oklahoma-ranch-wedding-from-imago-vita-photography/#}

This is from the Style Me Pretty site. Could you imagine how AH-MA-ZING your pictures would be if you had this bad boy behind you?


{http://www.stylemepretty.com/living/2012/09/14/diy-vanilla-sugar-favors-from-kimbry-studios-photography/}

Also from SMP. Adding a simple tag like this adds so much to a favor.

I love to see different fonts put together. It gives it a very modern touch and personalizes the most basic aspects. OK, I got off track there for a little bit...

Here are my STD...


My friend Keith designed them for us. He's pretty awesome. 


And our envelopes! I ordered them through Vistaprint.com. I had our return address printed on them, which was pretty awesome and a time saver.

What I did was downloaded an A2 and A7 template from this site: {http://www.archiversonline.com/pages/templates.} They have a lot of different templates that you should check out as well. 

Then you open up the file and since my envelope had a pre-determined box, I had to play with my layout for a little bit. And if you're anything like me, you have a 1,000 different downloaded fonts that you have to choose from! I get a lot from kevinandamanda.com. They have a lot of fun ones that look like handwriting. I tend to go for the less formal calligraphy fonts. Picking a font took about an hour...I had to go through and see what different "Ms" looked like, and find one that the numbers were fun also. I MAY have a tendency to over think these things :) 

This is time consuming. I'm not going to lie.... But I created a folder with individual files of each person's address. It makes this a one time process and when it comes to addressing envelopes for the actual invites and thank you notes it will be ready to go for you. Just plop down in front of your newest netflix addiction and take off! 

I can't even tell you how excited I am that I have figured this out. I realize that this may only be cool for me....but man I am excited!! 

My next wish is for a font/template that would help you create an envelope like the first one I showed you. If I could guess it will probably be all over Pinterest the day after I get married....Classic! 

Hope this helps those who are challenged in this area. And sorry I got so distracted...but hey, I just like sharing pretty things that I find :) 

-Mal

Related Posts Plugin for WordPress, Blogger...