Showing posts with label DIY. Show all posts

Tuesday, December 23, 2014

Wedding Invitation Suite Cost Breakdown

Today I'm breaking down the final costs of our Invitation Suite. While crunching the numbers, I got a little stressed out all over again! Man...planning and budgeting weddings is TOUGH!

Below you can access the four previous parts of the Wedding Invitation Suite.

Total: $181.88

Total: $263.98

Total: $314.43

Total: $224.37

Groupon for Vistaprint ($25 for $100 worth of product) x 4 = $100

Total: $1,084.66 (Including Postage & Guestbook)

Now, if I went with my first choice from Wedding Paper Divas, getting everything the same (buying their gold envelopes, postcards for RSVP's, etc) and using their 25% OFF coupon* my total would be: $1230.92 + $312.50 for postage.


* 25% OFF your total order was the best coupon I could find.  


 So, here it is! We saved $458.76. Now, keep in mind that when I say DIY I mean using Etsy, using our own printing sources, friends, etc. Looking back I could have easily done this for much cheaper by ordering fewer quantities, going with "free options" like designing them myself, printing them myself or using free templates offered by sites like Wedding Chicks.

Hope everyone has safe travels, and a wonderful Christmas! Jesus is the reason for the season!


Sunday, November 30, 2014

Anniversary Gift for your Wedding Party


One Year ago today I married the love of my life! It is insane how time goes by so quickly. I think it was about June before it all felt "real" (aka: we were getting into a decent routine). June is also when I came up with this little project.

Ideally I would of had pictures printed for our wedding party/family in February, but of course that did not happen. June came around and I started thinking of a fun way to get them a few special pictures from our wedding day. I made a mental note (which I'll often do and then they magically get erased 90% of the time) of sending them pictures closer to our anniversary. You know, the weekend of Thanksgiving and right before Christmas season gets started. Hey, I never said I was very bright. Anyways, when October came around and I still had the idea in my head, I knew I needed to get it done.

I got the pictures printed and started working on this little gift. First, I used my Cricut to cut out these tags that I wrote "thank you" on. I'll use any excuse to practice calligraphy.


Then I wrote out a little note to each person. You know... full on sappy style. I couldn't help it...it really allowed me to relive my wedding day emotions!


Next I bundled the note and pictures with some twine and my thank you tag. 


I also tried my best at calligraphy while addressing the envelopes. Not super easy (note to self: invest in a light box) but I can tell you that paper matters. The envelopes I used were pretty cheap quality and I could tell! It did not take the ink very well at all.


There you go! Super easy, cheap and thoughtful little anniversary gift you can send out to your loved ones who supported you the most during the wedding process!

Envelopes, Ink, Twine, Cardstock: Hobby Lobby
Return Address Stamp: Empress Stationary
Washi Tape: Target
Tape Dispenser: The Container Store (FYI: this might be one of my most favorite purchases ever! It was $9.99, compared to some of the other acrylic office supplies which run around $35 or $40! Needless to say, I bought two!)

Hope everyone had a wonderful Thanksgiving! Now, I'm off to celebrate with my hubby and indulge in some bundt cake!


Thursday, September 18, 2014

DIY Dr. Who Terrarium


My friend Keith (you know...the great gift giver I've mentioned before) is a big Dr. Who fan. So, when his birthday came around I knew I wanted it to be Dr. Who themed. Never having watched the show myself, I went to Pinterest...what I lovingly refer to as "creative google" and typed in: Dr. Who gift ideas. This is what showed up...


I was sold immediately! The idea is from Blythe Ponytail Parades. She doesn't use real plants, and she makes her own tardis, which turned out way better than if I would have attempted it myself.

Here is a list of supplies you'll need:
Jar
plants
soil
rocks
tardis, or any other fun object you want to add!

If you are using real plants you will need to ventilate, so just keep that in mind when picking out your jar. When I went shopping for a jar, I saw the mason jar and thought it was perfect. Don't get me wrong, it looks cool, but you can't see the details like I would have liked.

First, you will clean out your jar and put rocks down at the bottom. Since I used real plants, I had to put to rocks at the bottom to help with drainage.


Then you are going to add the soil and your plants. I bought plants that were different heights so that it would create some depth.


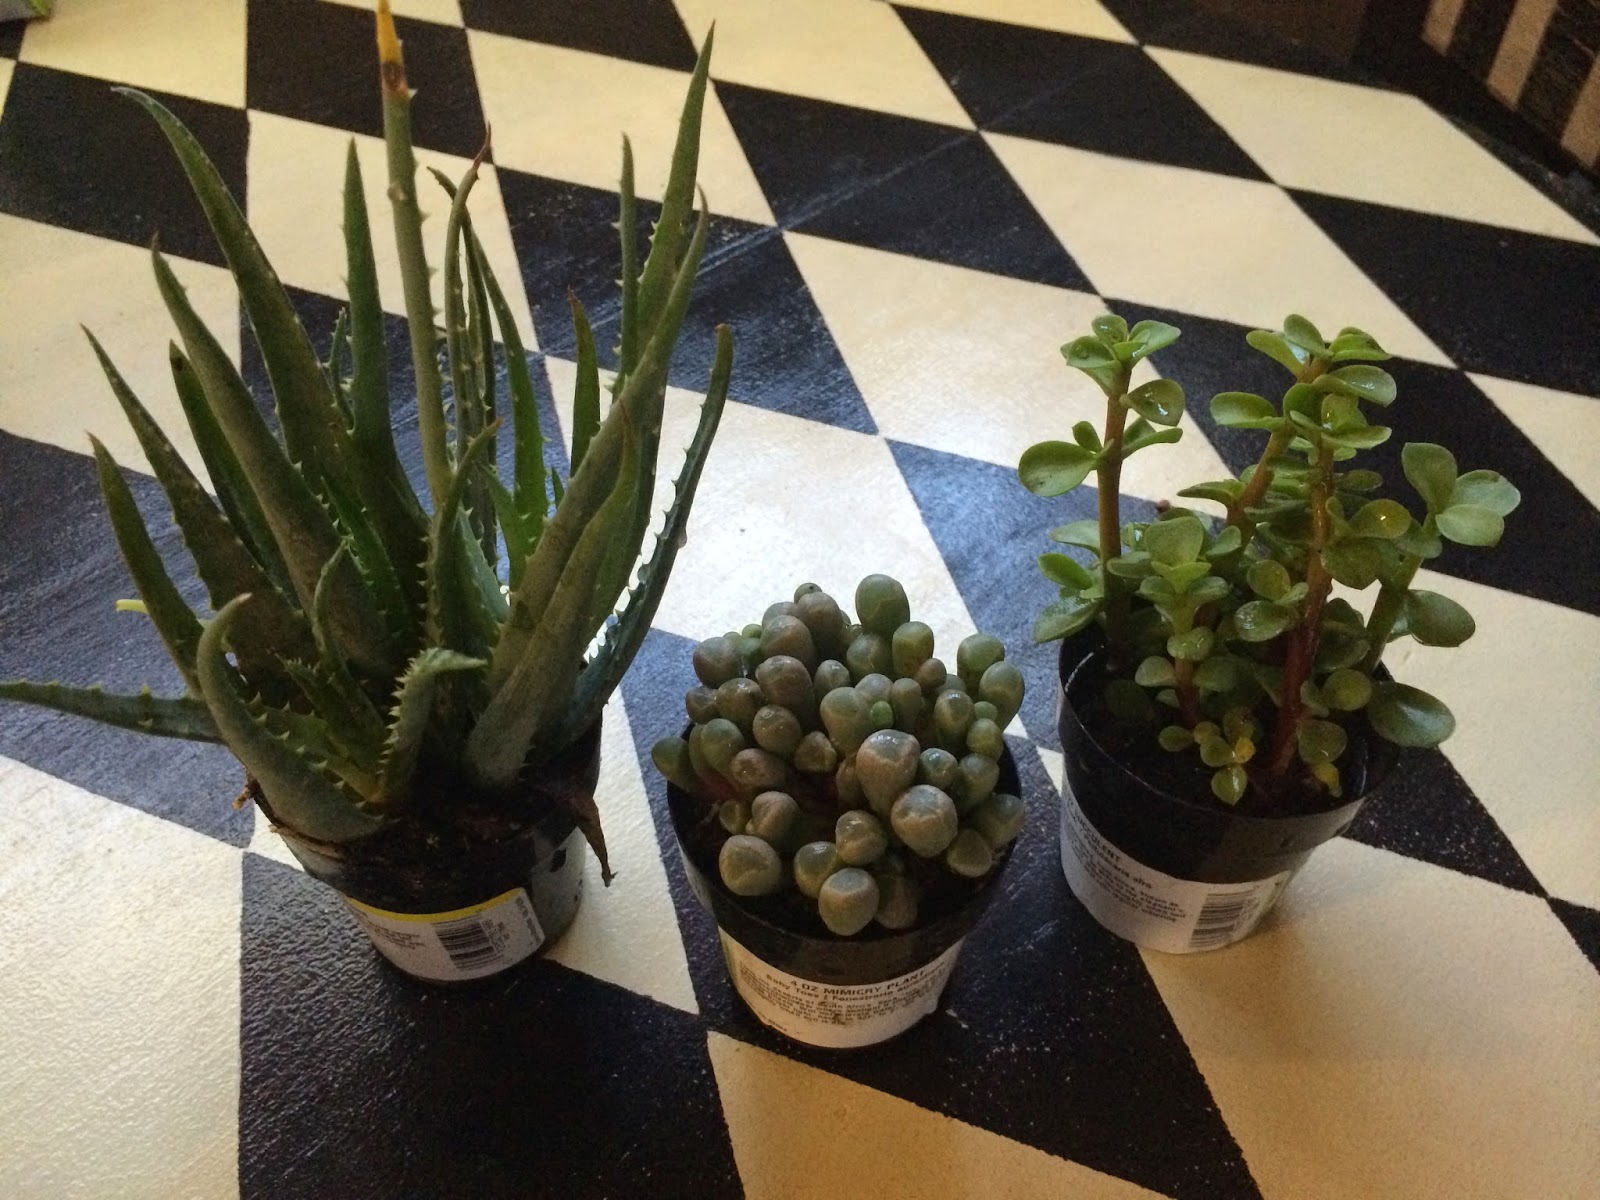
My jar was too small for all three, so I planted my dad some aloe. He has the only green thumb in the family, so I'm not too worried about it's survival. I thought the middle succulent was so cool and creepy looking...I had to add it!


I then put a layer of rocks on top of the soil, and added in the tardis. I played around with the placement of everything and used a spoon to help move the soil and pack in down. Then I gave it a good watering and let it dry in the sun.


Instead of making my own tardis, I went to Hot Topic and bought a keychain. I had Jake take the chain off and we were good to go!


They sell these mason jar lids at Hobby Lobby and are PERFECT for letting the succulents breath. 


Jake thought this was so cool, so it looks like we'll be adding one in our home as well! Happy Birthday Keith...move to Oklahoma already! :)

Tuesday, September 9, 2014

DIY Popsicle Pinata

I have been obsessed with all the DIY pinatas from the beginning of time (Pinterest time that is...). Kelly from Studio DIY has the biggest collection of pinatas on her site. I'm pretty sure that is one happy office she works in.

I have been wanting an excuse to make a pinata for awhile now. No, I did not throw Ashley's Surprise Party JUST to make the pinata...but it was close. :)

I decided on a Popsicle shape for 2 reasons: 1. It was an easy shape. 2. It was a "dessert themed" party, and by themed, I mean we had A LOT of dessert :)

OK, so what you will need to make your own ginormous Popsicle pinata is:
cardboard
tissue paper/ crepe paper
glue
string (I used jute)
wire
x-acto knife
packaging tape

First I got my cardboard and drew a Popsicle shape onto 2 of my big sheets of cardboard.


I then used my knife and cut those two shapes out, as well as several long, 6" wide strips for the sides. I also cut the "stick" for my Popsicle.

Next you will want to put together your shape. I read a few different tutorials, and some people used glue and some people used tape. I chose tape because I felt like the wait to for the glue to dry would be too long and not sturdy enough. I just taped that sucker up. The shape didn't have to be perfect, just because I knew I could create a better shape with the tissue paper. When doing the sides, I would just bend my cardboard strips to make them as flexible as possible for the top curve.

Once your shape is taped together, you will want to cut a strip in the bottom of the Popsicle for the stick.Then you will next to receive flak from your husband about your new "tombstone" pinata. :)


Now you will want to cut all your strips of tissue paper. Like I stated in the DIY Party Hat post, I really tried to use what I have. If I could have chosen, I would have used crepe paper...but I still have a ton from the wedding, so that is what I used. Crepe paper would have been better because it is already cut into long strips. You will just cut a lot of strips, about 5" wide. I then folded each strip in half, and cut my fringe.


I chose to do an ombre pinata (duh) so I made markings on the cardboard as to where I would start each color.

Now, you just start from the bottom up! Its a little time consuming, but this is when I catch up on The Tonight Show. The top was a little weird, but I just kept adding more of the dark pink in smaller strips so no cardboard showed.

Before you cover up all of the sides, I cut a flap so that we could add the candy. I also went ahead added my wire to the top, so that we could hang it from a tree. Make sure to reinforce that part!

Next I put gray tissue paper on the stick and glued that into it's slit in the bottom.

Now just add your candy and hang that sucker Popsicle from a tree and let your friends hit away :) It was pretty fun channeling our inner child. 


Sunday, September 7, 2014

DIY Party Hats!

A few weeks ago I threw a surprise party for one of my besties Ashley. She turned a whopping 25 years old and seriously... no one deserves a fun party more than her!!

 Jake & me with Ashley & Kevin at our wedding.

Ash was one of my bridesmaids and an official superstar throughout my wedding process, I can't tell you enough of how lucky I am to have her as a friend!

I had several projects in mind for the party, one of them being party hats! I have too many Pinterest boards littered with fun DIY party decor that I seriously had to sit myself down and figure out what I could get accomplished in my time frame!

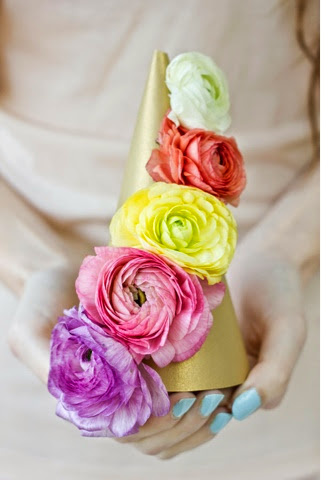
Party Hats for sure made the cut. There are some AMAZING hats out there, but I have a rule (more like my bank account has a rule) that I can only use craft stuff I have on hand, so I didn't go as elaborate as I probably would have normally. Check out these inspiring party hats:

Awesome right? Here is how I did ours:


Materials: 
Clearance Party Hats (I got 8 for 99 cents!) 
Scrapbook paper
Tissue paper
Extra craft supplies like poms
Hot glue gun

First I took a hat and took it apart and traced it on paper.

I did that 8 times for each hat I had. Then you cut them out glued them onto the hats. 


Next you take your extra craft supplies and go wild. They crazier the better in my book :) 


I did the same thing with noise makers. A surprise party REQUIRES noise makers! 

Another rule is that you have to put said party hats on your dogs... 

 
Kevin, Ashley & Phin! 


I'll share more this week about the rest of the details to the party! Hope ya'll had a great weekend! Boomer Sooner!
Related Posts Plugin for WordPress, Blogger...